The brushes are used dry
The brush should be held like a pen almost perpendicular to the alloy surface and whilst pressing down firmly move in all directions with very short strokes
The fine bristle tips penetrate the tiny pits and depressions. Vary the angle of the brush to allow the bristle tips to contact all of the surface
Work the brush evenly in all directions. Aim to cover a small area about the size of your thumbnail thoroughly and then work outwards from there
You will note the bite of the brush varies when moved in different directions. This is due to the crimp or bends in the bristles and can be used to great advantage at times
Try to avoid bending bristles back when inserting into thin grooves or crevices, and do not push the brush forwards at a shallow angle
After brushing an auto wax applied with a clean cotton cloth helps maintain the lustre
Refinishing the Flat Surfaces of the Fins
These notoriously difficult areas can be refinished by brushing but the shallow angle of approach means that only some of the bristle ends can brought into contact with the alloy and you will need to be very patient
The thinnest brush, size A, is best for this as it can be angled a little between the fins
The bristle ends can be bent to one side which allows more bristles to touch the flat surface at once. The most practical way is to use a green 3M ScotchBrite pad with a household abrasive first then use the brush on any areas which require further attention
Cleaning Brushes
If brush gets clogged with grease or grime drag the bristles backwards on rough concrete or old carpet. Rotate the brush as it is dragged backwards and most of the debris will be gone
Brushes may be washed in suitable solvents ( compatable with epoxy resin ) or hot water and detergents. They may be placed in boiling water or autoclaved, but do not use until cool
Shake out any liquid from handle. Store dry
Reshaping the Bristle Tips
Even the most carefully used SS for Alloy brush will end up looking like an old mop sooner or later
To reshape tips find a right angle join such as where a brick wall meets a concrete floor, or put a piece of hardwood on the floor and drag the bristles backwards along in the join, pressing hard and rotating as you go
Rejuvenating your Brush
The bristles are extremely durable, but eventually will wear down or fatigue. They are secured at the base of the handle and a new working set of bristles can be revealed by removing a section from the work end of the handle. Each brush can be renewed several times
Use sharp tinsnips or scissor-type cutters to trim off the old tips - give them a short haircut so the handle section can be removed easily
Make a groove around the handle about 12 mm. from the working end with a triangular file or tube cutter. Complete the circular groove down to the bristles, break off and discard the brass section
Cut newly exposed bristles with sharp tinsnips or cutters to suitable length. Do not exert any pull on the bristles whilst making the cut
As a guide the free bristle lengths for new brushes are -
Size A - 6mm, size B - 7 mm, size C - 8 mm and size D - 9mm
Try to keep close to these lengths as shorter bristles have more bite than required and longer are too soft to be effective
The newly cut bristle ends will have very sharp edges and must be worked in by rubbing on concrete or brick in all directions before use on soft metals. Your brush is now ready to perform as new.
Storage
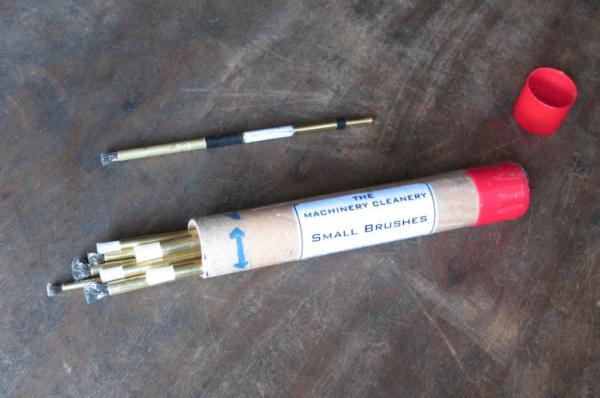
The brushes are hardy and quite happy in the toolbox or on a shelf but beware of finger injuries from the fine bristles when fishing around. Shown below is the brushmaker's set of 8 which fit nicely inside a piece of 1 inch mailing tube
Machinery Cleanery Home page
or Close page to return to Brushes Info